This guide shows you how to create an account, join a team, send some data to Honeycomb, and build your first query.
You need an Account in order to use Honeycomb. Sign up for one on honeycomb.io.
Once you have an Account, join or create a Team.
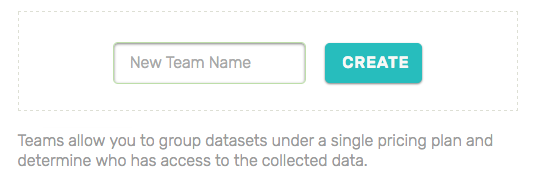
A Team is any group of users with shared datasets, like “mobile-eng”, “data-ops”, “support”, or “Honeycomb”. Don’t worry if you are the only person experimenting with Honeycomb and this Team concept does not apply to you. Name your Team anything you’d like and change it later.
You can invite people to your Team by clicking on the arrow in the top-right corner, next to your picture. Select “Team Settings” and enter each person’s email address.
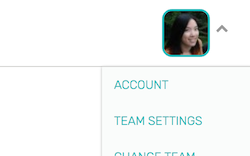
Make note of the Write Key for your Team, which is (available on your Account page). You need the Write Key in order to send data to Honeycomb.
After you’ve created an Account and a Team, and made note of your Write Key, Honeycomb will prompt you to send some data, either web logs, database logs, or application code:
For all of the above, Honeycomb provides a number of connectors to make it very quick and easy for you to send data. Please note that Connectors are currently only meant to run on Unix or Linux systems.
Select the data type (web logs, database logs, or application code) and installer options most appropriate for you. Honeycomb will then automatically create a dataset to collect your new events, and will list your datasets after collection is complete and the page refreshes.
Data in Honeycomb is described as a series of Events, each of which represents some happening worth tracking. Related or recurring events should be collected under a single Dataset.
Each event holds one or more key-value pairs. When Honeycomb receives an event for a dataset that you have not used before, it automatically creates a Dataset in the background. (In Honeycomb, all events must belong to a dataset.)
In this example, you will create a dataset called ‘Quickstart’ by sending Honeycomb a single Event via curl, a simple command that transfers data. In the snippet below, remember to replace YOUR_WRITE_KEY with the Write Key you created for your Team, above. The following will create a Quickstart dataset, with a set of sample attributes:
curl https://api.honeycomb.io/1/events/Quickstart -X POST \
  -H "X-Honeycomb-Team: YOUR_WRITE_KEY" \
  -d '{"status":200,"path":"/docs/","latency_ms":13.1,"cached":false}'
The event you sent via ‘curl’ can be found under the dataset ‘Quickstart.’ If the event did not exist before you ran the curl, Honeycomb created an event for you.
Please note:
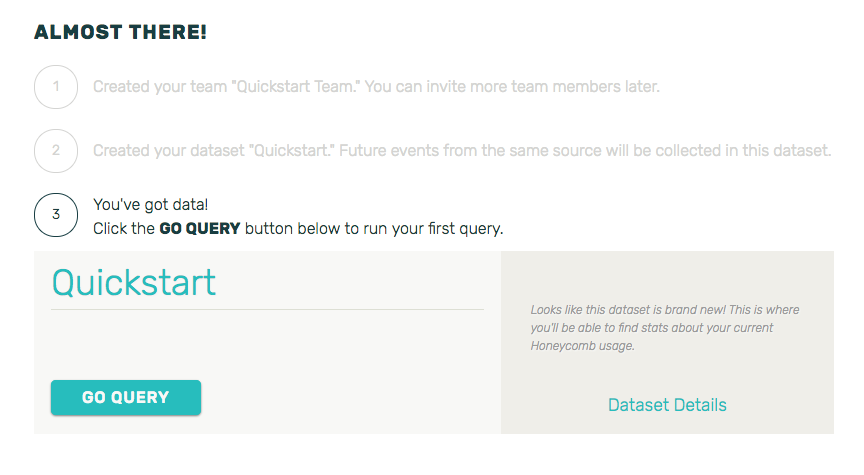
Once your curl returns successfully, load the Honeycomb dashboard. You will see your new Dataset (named ‘Quickstart’, if you stuck with Honeycomb’s defaults).
Click the “Go Query” button to run your first query, and to view your new Dataset in the Query Builder (AKA “the Builder” for short).
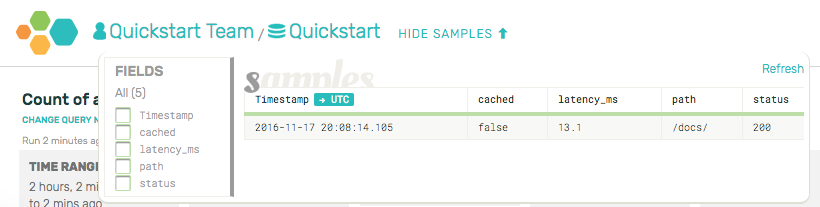
If you click the “Recent Samples” button at the top of the page (inside the gray header), you will see a table that contains the structured event you just sent in, along with a Timestamp column.
The “Recent Samples” button will always display the 10 most recently received events for a dataset.
All Honeycomb events have a timestamp: If you do not specify one when sending an event, Honeycomb will assign a timestamp based on the time Honeycomb received the event.

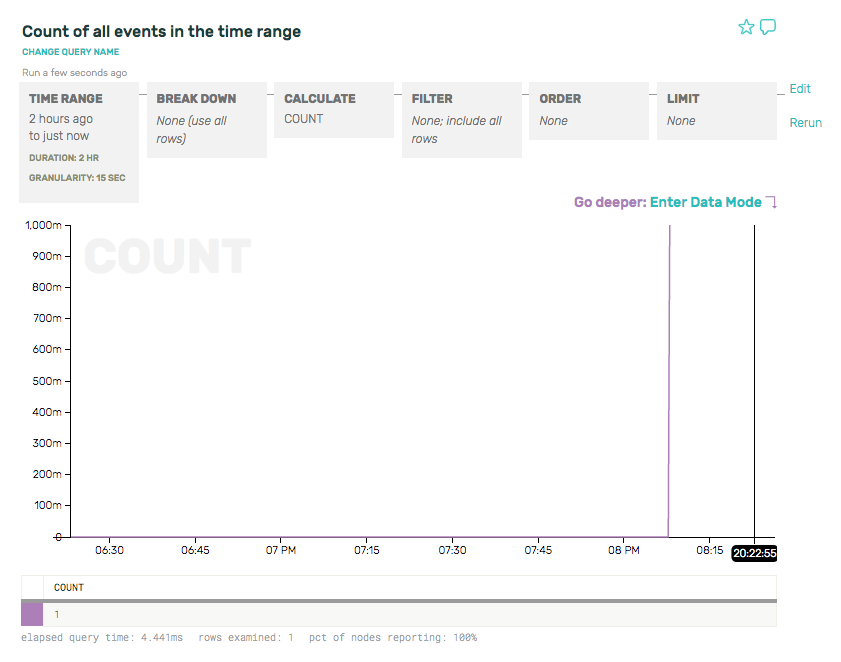
At the top of the page you will see the Query Builder, a series of grey boxes that provides the primary way to construct queries that enable you to inspect your data.
Click on any of the Builder’s grey boxes. For this example, Honeycomb has set up a default query: a COUNT of events received for the dataset over the last two hours. Click Run (on the right-hand side of the builder), and Honeycomb will display a simple graph that shows Honeycomb recently received one event for this dataset.
Congratulations! You’ve run your first query on your first event in Honeycomb. At this point, you’re ready to explore the different shapes a query can take
or check out some case studies and debugging scenarios